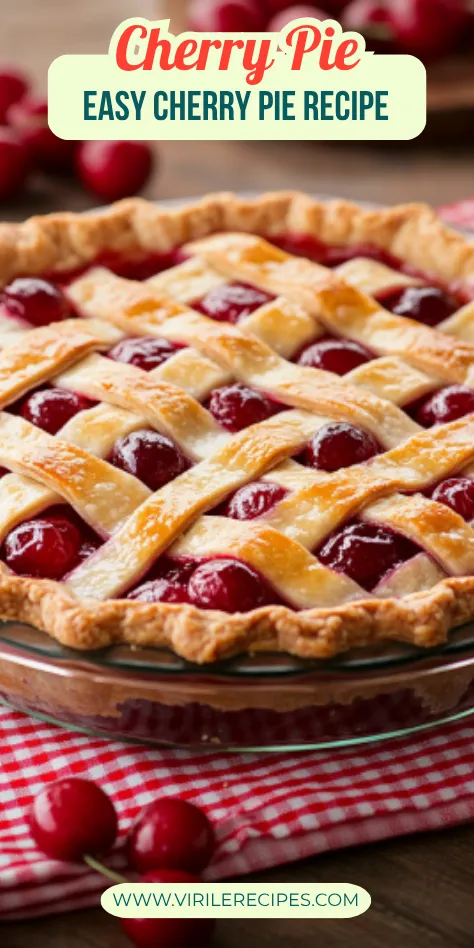
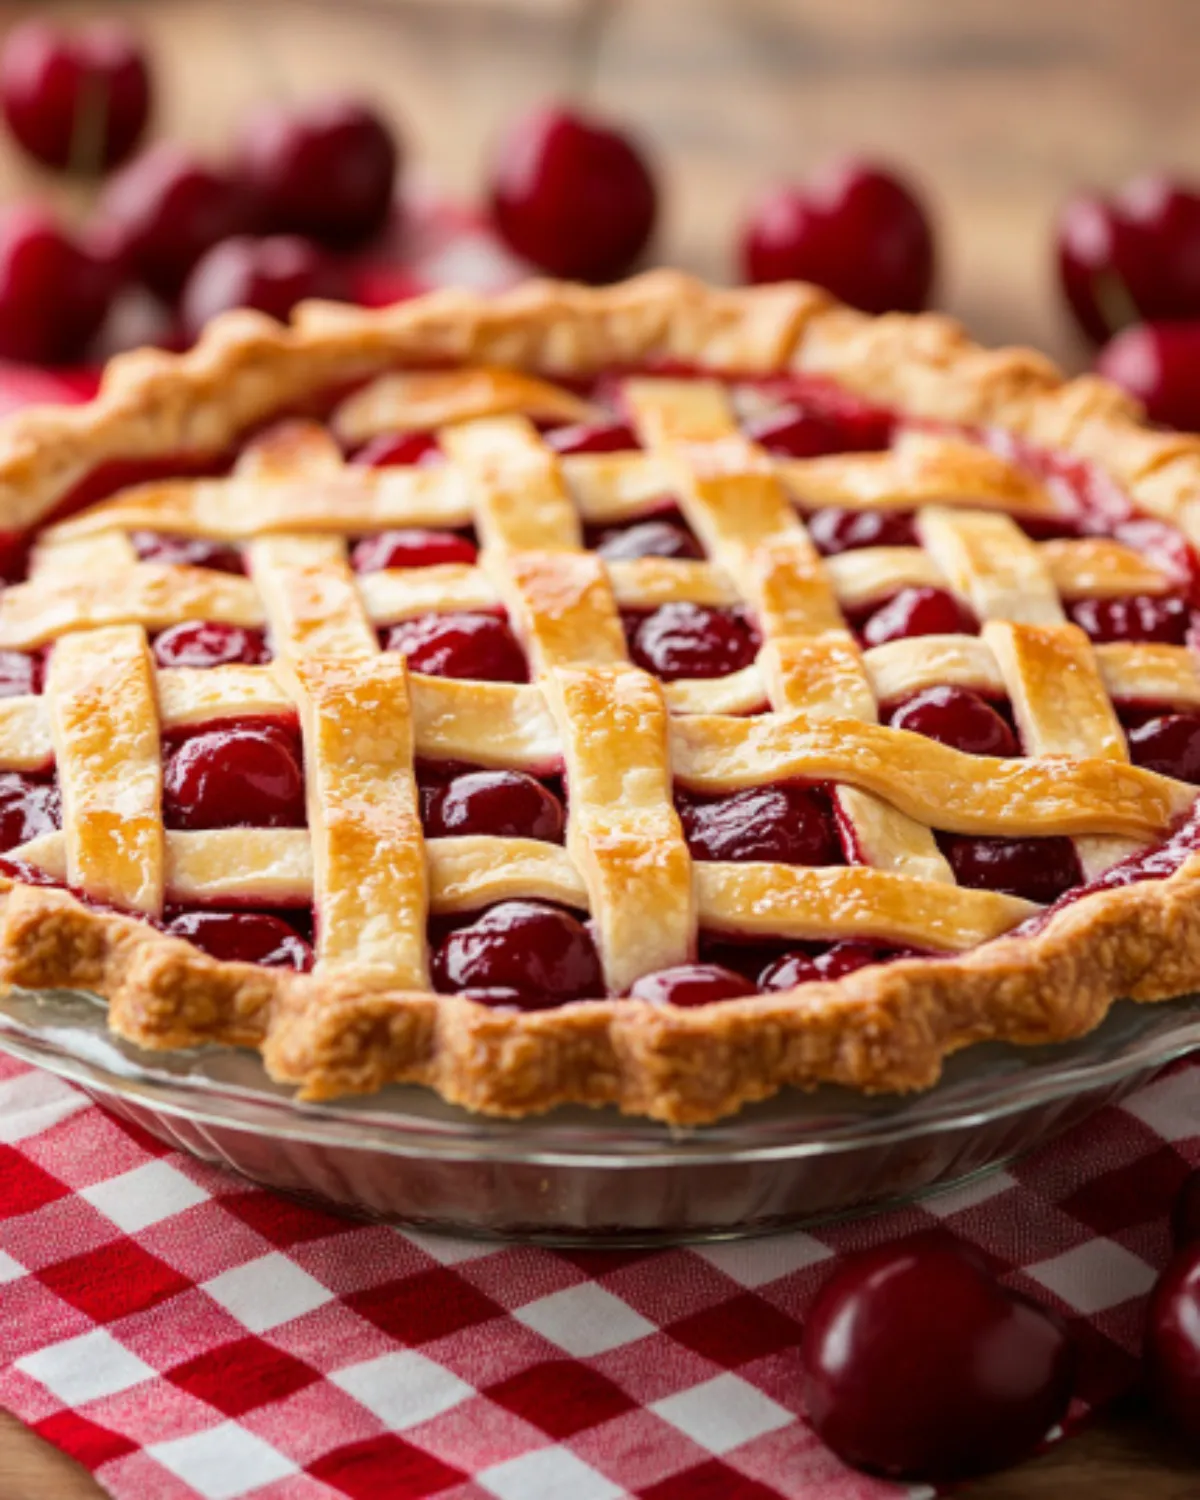
Let me tell you a little story. One year, I promised to bring dessert for Thanksgiving. Three pies, to be exact. Ambitious? Definitely. But here’s the secret I learned that day: cherry pie doesn’t have to be complicated.This easy cherry pie recipe saved my sanity. While the pumpkin and pecan pies demanded all my time and oven space, this beauty came together in just 5 minutes with a couple of store-bought hacks and a whole lot of love. My daughter even helped assemble it while wearing her superhero cape. True story.So whether you’re juggling kids, dinner prep, or just want a fast dessert fix, this cherry pie is here to make your life deliciously easier.
Jump to
Why This Cherry Pie Is Almost Too Easy
You don’t need to be a pastry chef or even own a rolling pin to make this pie. That’s the magic:
- Pre-made pie crusts from the dairy case (zero judgment here).
- Canned cherry pie filling, preferably the kind with extra cherries.
- Just a splash of almond extract for a nostalgic bakery touch (optional but recommended).
- A sprinkle of sugar on top. Because sparkle matters.
The result? A flaky, juicy, glossy pie that looks straight out of a diner menu. And no, you don’t have to tell anyone it took five minutes to prep.
What You’ll Need
Equipment
- 9-inch deep-dish pie plate
- Rolling pin (optional for crimping)
- Pie shield or aluminum foil
- Baking sheet (trust me, cherry filling bubbles over)
- Mini cookie cutter or sharp knife for vent holes
Ingredients
- 2 refrigerated pie crusts (from the dairy case)
- 2 cans cherry pie filling (look for “extra cherries” or low sugar)
- 1/2 teaspoon almond extract (optional but magical)
- 1 tablespoon milk
- 1 tablespoon granulated sugar
How to Make Cherry Pie (Step-by-Step)
Step 1: Preheat That Oven
Crank your oven to 425°F. Yes, it’s hot—but that’s how you get that golden, flaky pie crust.
Step 2: Lay the Foundation
Unroll one pie crust and gently press it into your pie dish. No need to stretch it—just let it cozy up in there.
Step 3: Fill ‘Er Up
In a bowl, mix your cherry pie filling with the almond extract. Pour it into the pie shell and smooth it out with a spatula. Don’t overfill unless you like scrubbing your oven.
Step 4: Top It Off
Place your second crust on top. You can go classic whole crust with vent holes, or slice it into strips for a lattice design. Either way, it’ll be gorgeous.
Step 5: Seal & Crimp
Pinch the edges to seal or use a fork to crimp all the way around. It doesn’t have to be perfect. Homemade is charming.
Step 6: Brush & Sprinkle
Brush the top with milk and sprinkle with sugar. This gives you that bakery-style shine and crunch.
Step 7: Bake
Place the pie on a baking sheet (seriously, do this). Bake at 425°F for 40-45 minutes. Cover the edges with a pie shield or foil after 15 minutes to keep them from burning.
Step 8: Cool Before You Dig In
Let it cool for at least 1 hour so the filling can set. This part is hard, but important. Go fold some laundry or daydream about whipped cream while you wait.
Extra Tips from the Pie Hotline
- Runny filling? Drain off a little of the syrup or stir in a spoonful of quick-cook tapioca or cornstarch.
- No almond extract? Totally fine. The pie still slaps.
- Pie crust burning? Wrap foil around the edges after the first 15 minutes.
- Want to get fancy? Cut shapes from extra dough and place them on top. Bonus style points.
- Serving it up? A scoop of vanilla ice cream turns this pie into a moment.
Storing Your Sweet Cherry Pie
- Room temp: Keep covered on the counter for 1–2 days.
- Fridge: Once cut, store it in the fridge for up to 5 days.
- Reheat: Pop a slice into a 250°F oven for 20 minutes to warm it back up.
Want More Dessert Inspo?
- Looking for more desserts made with puff pastry? Check out our puff pastry dessert recipes.
- Try this indulgent take on cheesecake: Mini Crème Brûlée Cheesecakes
- For more fruity desserts, check out this Strawberry Rhubarb Crumble recipe
- Pair your cherry pie with Chocolate Dipped Strawberries
- Celebrate with Valentine’s Day Cookies
- Add Red Velvet Brownies to your dessert table
- Go retro with Whoopie Pies
- Want a no-bake option? Try this Strawberry Cheesecake Dump Cake
- Craving more fruity pies? Strawberry Rhubarb Pie
- Explore another classic: Dutch Apple Pie Recipe
Recipe Card Summary
Print
Easy Cherry Pie Recipe – 5-Minute Dessert for Busy Bakers
- Total Time: 50 minutes
- Yield: 8 slices 1x
Description
This old-fashioned sweet cherry pie uses canned filling and pre-made crust—easy enough for kids to help and delicious enough for your holiday table.
Ingredients
- 2 refrigerated pie crusts (from the dairy case)
- 2 cans cherry pie filling (look for “extra cherries” or low sugar)
- 1/2 tsp almond extract (optional but magical)
- 1 tbsp milk
- 1 tbsp granulated sugar
Instructions
- Preheat oven to 425°F.
- Unroll one pie crust and press into a 9-inch deep-dish pie plate.
- In a bowl, mix cherry pie filling with almond extract and pour into the crust.
- Top with second crust; cut vents or create a lattice.
- Seal and crimp edges with fingers or a fork.
- Brush top with milk and sprinkle with sugar.
- Place on baking sheet and bake for 40–45 minutes. Cover edges with foil after 15 mins.
- Cool for at least 1 hour before serving.
Notes
Great for holiday baking or quick dessert nights. Store covered at room temp for 1–2 days or refrigerate for up to 5 days. Reheat slices in a 250°F oven for 20 mins. Add vanilla ice cream for the perfect finish.
- Prep Time: 5 minutes
- Cook Time: 45 minutes
- Category: Dessert
- Method: Baked
- Cuisine: American
Nutrition
- Serving Size: 1 slice
- Calories: 320
- Sugar: 25g
- Sodium: 220mg
- Fat: 14g
- Saturated Fat: 6g
- Unsaturated Fat: 6g
- Trans Fat: 0g
- Carbohydrates: 45g
- Fiber: 2g
- Protein: 2g
- Cholesterol: 10mg


Talk to Us!
Did you try this easy cherry pie recipe?, Did you get wild and use puff pastry?, Did your toddler eat half the filling before you even started? We want to hear it all.
For more creative baking inspiration and marketing ideas, explore the Pinterest or connect with us on Facebook.
And hey, pie is love. Share it.

