
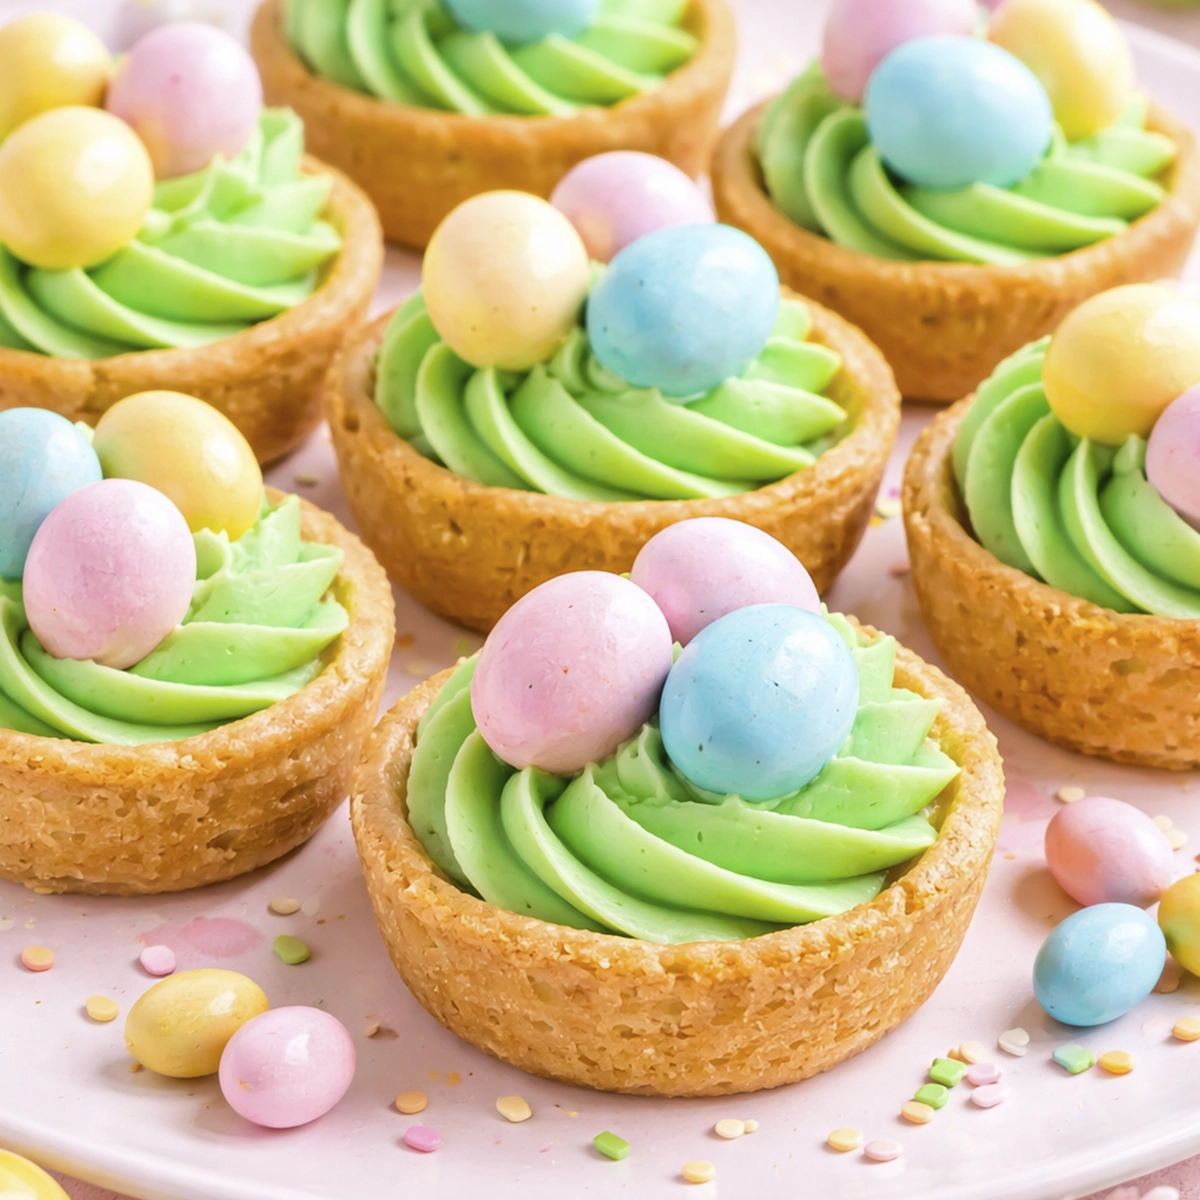
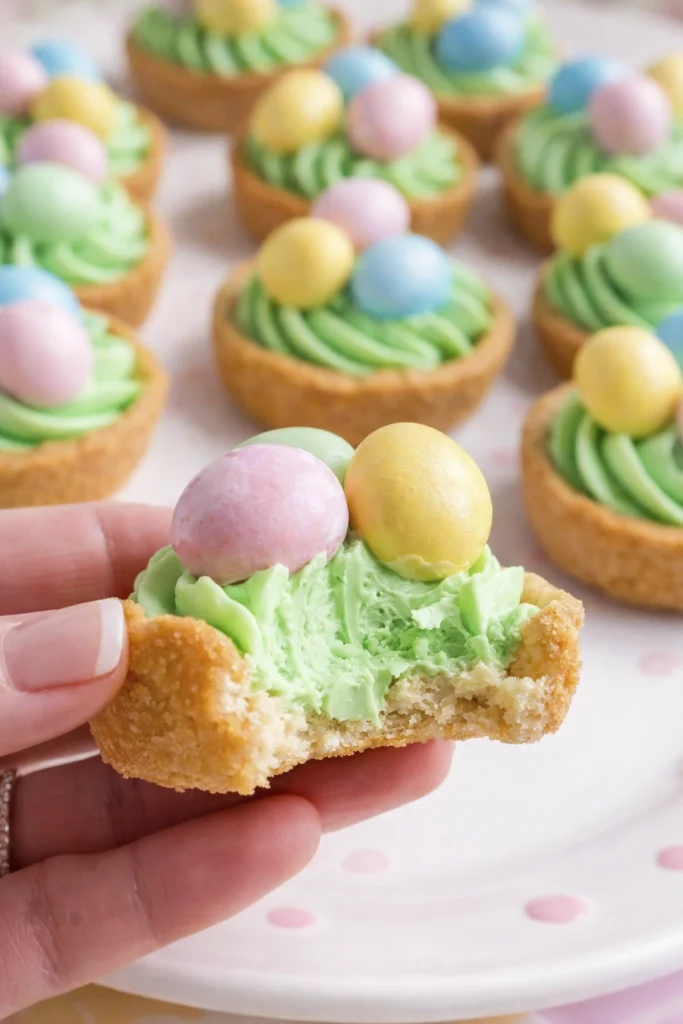
Easter Basket Sugar Cookie Cups are the kind of dessert that instantly brightens a table. Imagine a soft sugar cookie baked into a little cup, filled with fluffy green frosting that looks like spring grass, and topped with colorful candy eggs. It looks like a tiny edible Easter basket, and it tastes even better than it looks.
Here is the best part. You do not need advanced baking skills to make Easter Basket Sugar Cookie Cups. The recipe is beginner friendly and uses simple ingredients that many home bakers already have. The cookie base is baked in a muffin pan, the buttercream frosting is whipped together in minutes, and decorating the cups is honestly the most fun part of the whole process.
These Easter cookie cups are a favorite for spring gatherings because they combine creativity with comfort. The soft sugar cookie base gives a classic bakery flavor, while the candy eggs add a playful touch that kids and adults both love. Whether you are planning an Easter brunch, a classroom treat, or a dessert table for family dinner, these sugar cookie Easter baskets always grab attention.
Another reason these Easter Basket Sugar Cookie Cups are so popular is how flexible the recipe is. You can change the candy toppings, adjust the frosting color, or even add sprinkles for extra personality. Each batch looks slightly different, which makes them feel homemade in the best possible way.
If you enjoy baking seasonal desserts, these cookie cups fit perfectly alongside treats like chewy Cadbury egg cookies or a refreshing strawberry icebox cake. Together they create a colorful spring dessert spread that feels festive and welcoming.
Throughout this guide you will learn everything about Easter Basket Sugar Cookie Cups, including ingredients, step by step baking instructions, decorating ideas, storage tips, and creative variations.
Once you make them, do not be surprised if these adorable cookie baskets become a yearly Easter tradition in your kitchen.
Easter Basket Sugar Cookie Cups Ingredients
Easter Basket Sugar Cookie Cups use simple ingredients, which is one of the reasons the recipe is so approachable. Most items are easy to find at any grocery store, and many bakers already have them sitting in the pantry.
Let us walk through what you will need.
For the sugar cookie cups
Refrigerated sugar cookie dough works beautifully for this recipe. The dough bakes into soft cookie cups that hold the frosting and candy easily. Pre portioned dough squares are especially convenient because they fit perfectly inside muffin wells.
Cooking spray helps prevent the cookie cups from sticking to the pan. A light coating ensures the cookies release cleanly once baked.
For the buttercream frosting
Butter is the base of the frosting and gives it a rich, creamy flavor.
Powdered sugar creates the sweet structure of the buttercream.
Milk helps adjust the texture so the frosting becomes light and smooth.
Vanilla extract adds warm flavor that pairs perfectly with the sugar cookie base.
Green food coloring transforms the frosting into Easter grass, giving the dessert its signature basket look.
For decorating the cookie baskets
Mini chocolate eggs are the classic topping for Easter Basket Sugar Cookie Cups.
Cadbury mini eggs are also a popular choice because of their crunchy candy shell.
Jelly beans can add a bright, playful twist.
Pastel sprinkles bring extra color and texture.
These simple ingredients come together to create one of the cutest Easter desserts you can make.
Easter Basket Sugar Cookie Cups Step by Step Recipe
Easter Basket Sugar Cookie Cups follow a simple process that makes them accessible for beginners and experienced bakers alike. The cookie cups bake quickly, and the decorating stage is where creativity really shines.
Start by preheating the oven to 350 degrees Fahrenheit. While the oven heats, lightly coat a muffin pan with cooking spray. This step helps the cookie cups release easily after baking.
Next place one portion of sugar cookie dough into each muffin well. Press the dough down slightly so it spreads evenly across the bottom. As the cookies bake, the dough will expand and create a soft base.
Bake the cookies for about ten to fourteen minutes. The edges should turn lightly golden while the centers remain soft. As soon as the pan comes out of the oven, gently press the center of each cookie with the back of a spoon or a small glass. This creates the cup shape that holds the frosting.
Allow the cookie cups to cool completely before decorating.
Meanwhile prepare the buttercream frosting. In a mixing bowl beat the softened butter until smooth. Gradually add powdered sugar while mixing. Pour in the vanilla extract and a small splash of milk. Continue mixing until the frosting becomes fluffy and spreadable.
Add a few drops of green food coloring and mix until the frosting resembles bright spring grass.
Once the cookie cups are cool, spoon or pipe the frosting into each cup. A piping tip designed for grass can create thin strands that resemble a nest, but a regular spoon works just as well.
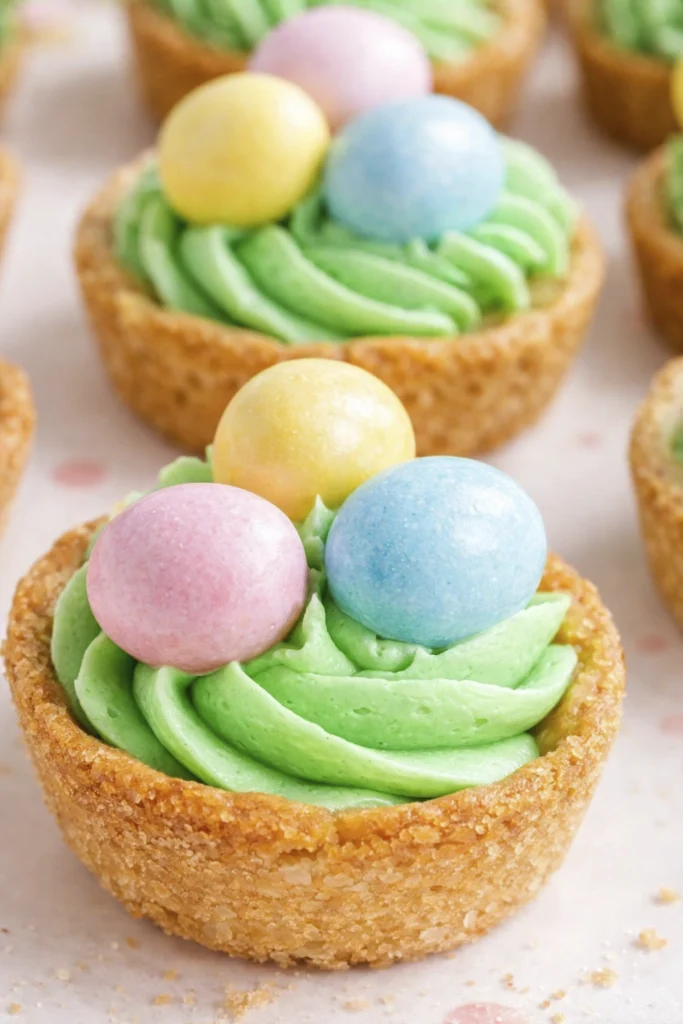
Finally place two or three candy eggs on top of the frosting. Suddenly each cookie cup looks like a miniature Easter basket.
Easter Basket Sugar Cookie Cups Decoration Ideas
Easter Basket Sugar Cookie Cups are fun to decorate because there are so many creative possibilities. While the classic version uses green frosting and chocolate eggs, you can easily change the design to match your style.
One popular decoration idea is coconut grass. Simply mix shredded coconut with a few drops of green food coloring. Sprinkle it over the frosting and it instantly looks like realistic grass.
Another option is pastel buttercream. Instead of only green frosting, divide the buttercream into several bowls and color them pink, yellow, and lavender. This creates a bright spring themed dessert tray.
Sprinkles are another playful addition. Pastel sprinkles scattered over the frosting add texture and color that make the cookie cups look festive.
Some bakers like to use jelly beans instead of chocolate eggs. The bright candy colors make each cookie basket unique.
You can even add small sugar flowers or bunny shaped candies for a more detailed Easter theme.
The decorating stage is where kids love to get involved. Give them bowls of candy and let them create their own Easter Basket Sugar Cookie Cups. Each child ends up with a different design, which makes the activity feel like edible art.
Easter Basket Sugar Cookie Cups Tips for Perfect Results
Easter Basket Sugar Cookie Cups are simple to prepare, but a few small tips can make the baking process even smoother.
First choose sugar cookie dough that is pre portioned. Dough squares or small cookie portions fit perfectly into muffin pans and bake evenly.
Second avoid overbaking the cookies. The centers should remain soft so they can easily be pressed into cup shapes.
Third shape the cups immediately after baking. The cookies are flexible when warm, which makes forming the basket shape much easier.
Fourth allow the cookie cups to cool fully before adding frosting. Warm cookies can melt buttercream quickly, which affects the appearance.
Finally do not worry about perfection. These cookie cups look charming even when they are slightly uneven. That homemade look is part of their appeal.
Easter Basket Sugar Cookie Cups Variations
Easter Basket Sugar Cookie Cups can be adapted in many creative ways. Once you master the basic recipe, experimenting with variations becomes part of the fun.
Chocolate lovers often swap the vanilla frosting for chocolate buttercream. The deeper flavor pairs beautifully with chocolate eggs.
Some bakers use peanut butter frosting instead of vanilla buttercream. The nutty flavor adds a delicious twist.
You can also try different cookie bases. Chocolate chip cookie dough creates a richer version of these cookie baskets.
For a fruity version, add a small spoonful of strawberry jam under the frosting. The sweet fruit layer adds an extra burst of flavor.
If you enjoy carrot themed desserts during Easter, these cookie cups pair nicely with treats like carrot cake cookies or carrot cake cheesecake bites
Mixing several desserts together creates a beautiful spring dessert table filled with variety.
Easter Basket Sugar Cookie Cups Storage Tips
Easter Basket Sugar Cookie Cups store surprisingly well if you have leftovers.
Place the cookie cups in an airtight container and keep them at room temperature for up to two days. The cookies stay soft and the frosting holds its shape.
If you prefer longer storage, place the container in the refrigerator where the cookies will stay fresh for about three to four days. Before serving, allow them to sit at room temperature so the cookie base softens slightly.
You can also prepare parts of the recipe ahead of time. Bake the cookie cups one day in advance and store them in a sealed container. The next day add frosting and candy decorations.
This method works well when preparing desserts for Easter parties or family gatherings.
Easter Basket Sugar Cookie Cups Serving Ideas
Easter Basket Sugar Cookie Cups look wonderful when served as part of a spring dessert spread. Arrange them on a large platter and scatter pastel candies around the tray for decoration.
These cookie baskets also work well as edible place settings for Easter dinner. Place one on each plate as a sweet surprise for guests.
For larger gatherings you might include several desserts together. A mini carrot cake adds a classic spring flavor, while strawberry icebox cake provides a creamy chilled contrast.
Combining different textures and flavors keeps the dessert table exciting and colorful.
Print
Easter Basket Sugar Cookie Cups
Description
Easter Basket Sugar Cookie Cups are adorable spring desserts made with soft sugar cookie cups filled with green buttercream frosting and topped with colorful candy eggs. These festive cookie baskets are perfect for Easter brunch, classroom treats, and holiday dessert tables.
Ingredients
- 1 package refrigerated sugar cookie dough
- Cooking spray
- 1/2 cup unsalted butter (softened)
- 2 cups powdered sugar
- 2 tablespoons milk
- 1 teaspoon vanilla extract
- Green food coloring
- Mini chocolate eggs
- Cadbury mini eggs
- Jelly beans (optional)
- Pastel sprinkles (optional)
Instructions
- Preheat the oven to 350°F.
- Lightly coat a muffin pan with cooking spray.
- Place one portion of sugar cookie dough into each muffin well.
- Press the dough gently so it spreads evenly across the bottom.
- Bake for 10 to 14 minutes until the edges are lightly golden.
- Immediately press the center of each cookie with the back of a spoon to form a cup shape.
- Allow the cookie cups to cool completely before decorating.
- Beat softened butter in a mixing bowl until smooth.
- Gradually add powdered sugar while mixing.
- Add vanilla extract and milk and continue mixing until the frosting becomes fluffy.
- Mix in green food coloring to create the grass effect.
- Spoon or pipe frosting into each cooled cookie cup.
- Decorate with mini chocolate eggs, jelly beans, or sprinkles.
- Serve and enjoy these festive Easter cookie baskets.
Notes
Press the cookie centers immediately after baking while the dough is still warm and soft. Allow the cookies to cool completely before adding frosting so the buttercream keeps its shape. Decorating with candy eggs and sprinkles makes each cookie basket unique and festive.
Easter Basket Sugar Cookie Cups Final Thoughts
Easter Basket Sugar Cookie Cups are more than just a dessert. They bring color, creativity, and a little bit of fun to the kitchen.
The soft sugar cookie base, fluffy buttercream grass, and bright candy eggs come together to create a treat that feels playful and festive. Even better, the recipe is simple enough for beginner bakers and enjoyable for kids who want to help decorate.
Whether you are baking for a family brunch, preparing treats for an Easter party, or simply spending an afternoon in the kitchen, these sugar cookie Easter baskets are guaranteed to bring smiles.
Once you make your first batch of Easter Basket Sugar Cookie Cups, you may find yourself baking them again every spring. And honestly, that sounds like a pretty sweet tradition.
For more delicious recipe ideas, check out our Pinterest page at virlerecipes. Happy cooking!