When it comes to Halloween recipes, you’ve got your sugar overload covered. Candy corn, caramel apples, and more chocolate than you know what to do with. But what about something a little… cheesier? Mozzarella cheese skulls are here to take your Halloween table from basic to boo-tiful.
These spooky little bites are soft, melty, totally creepy (in a good way), and so simple even your kids—or your most kitchen-phobic friends—can help make them. Whether you’re throwing a haunted dinner party or just looking for easy Halloween cheese recipes, these mozzarella skulls will be your go-to snack this season.
Make your Halloween table even more fun with these Halloween dinner ideas.
Let’s break it down step-by-step and make some skull-shaped cheese magic.
Jump to
- What Are Mozzarella Cheese Skulls?
- Ingredients and Tools You’ll Need for Mozzarella Cheese Skulls
- How to Make Mozzarella Cheese Skulls (Step-by-Step Instructions)
- Expert Tips for Skull-Shaped Cheese That Wows
- Serving Ideas: Where to Use Mozzarella Cheese Skulls
- Flavor Variations to Try with Mozzarella Cheese Skulls
- Who Should Try This Recipe?
- Make Halloween Delicious with Mozzarella Cheese Skulls
What Are Mozzarella Cheese Skulls?
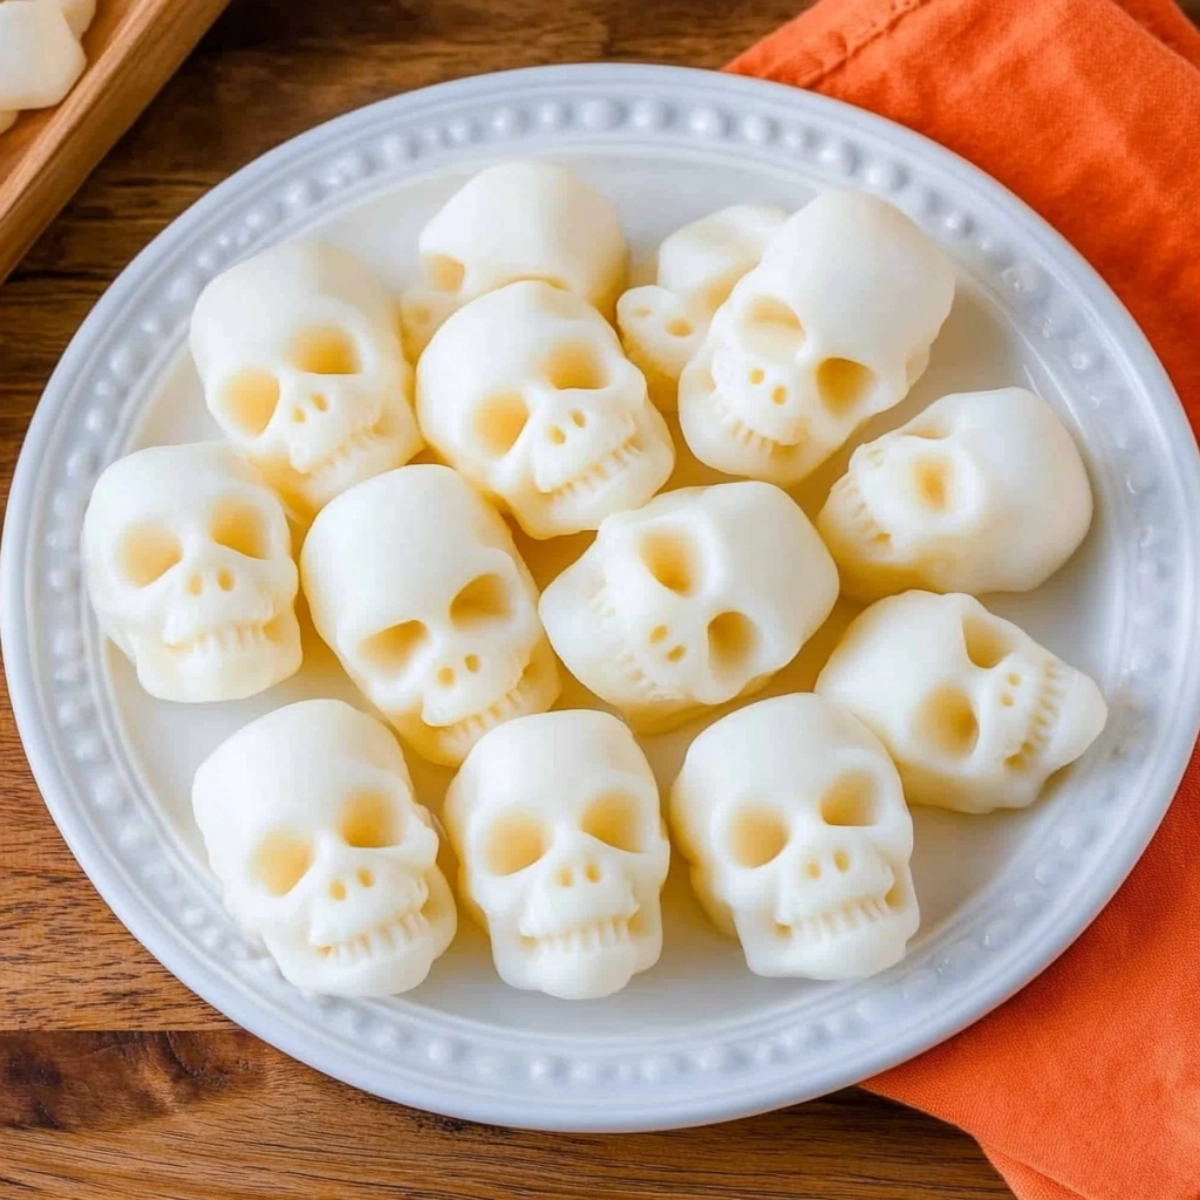
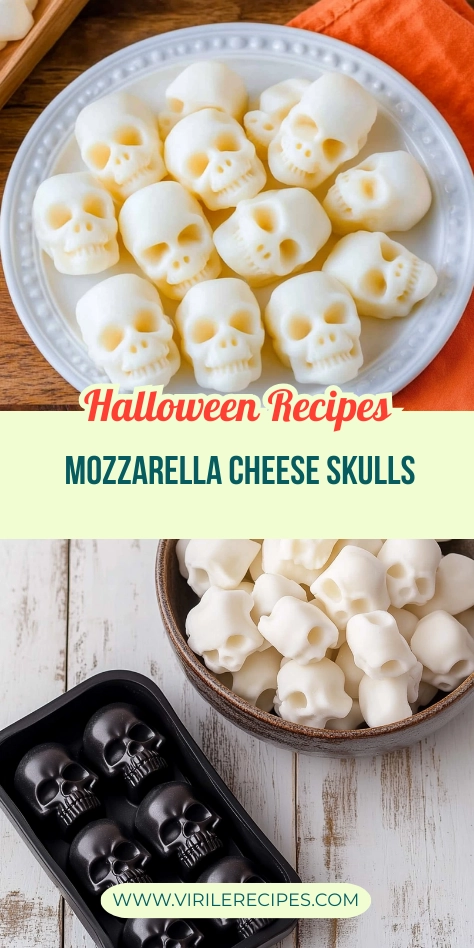
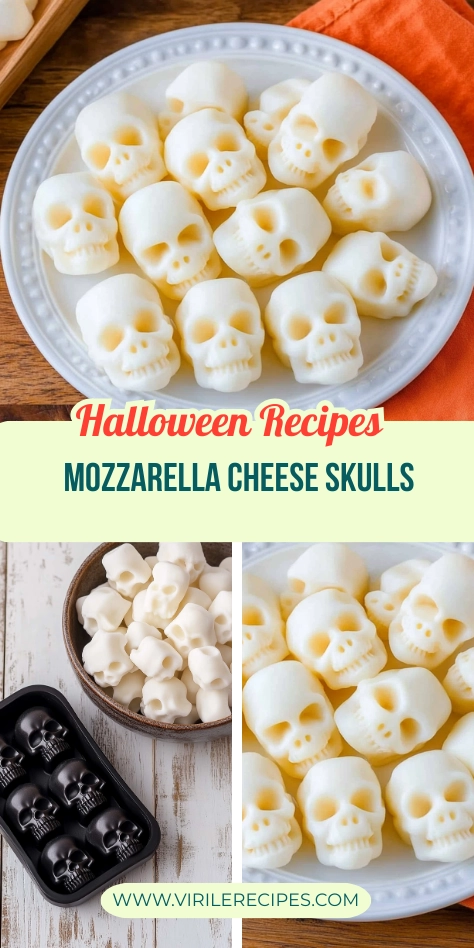
So what exactly are mozzarella cheese skulls? Think of them as mini mozzarella balls (also called ciliegine mozzarella) that get transformed into spooky skull shapes using silicone molds and a quick bake in the oven.
That’s right—no frying, no fancy gear, no stress. Just molded cheese snacks you can add to salads, Halloween-themed pasta, creepy charcuterie boards, or just pop into your mouth like a monster in the night.
They’re perfect for:
- Halloween charcuterie board ideas
- Kid-friendly Halloween recipes
- Halloween pasta salad toppings
- Themed cheese snacks at parties
- Last-minute snacks for when your costume is fire but your cooking skills… not so much
And yes, they make the best spooky Instagram pics.
Ingredients and Tools You’ll Need for Mozzarella Cheese Skulls
Ingredients:
- 1 package of ciliegine mozzarella (aka mini mozzarella balls)
- A pinch of salt (optional)
Tools:
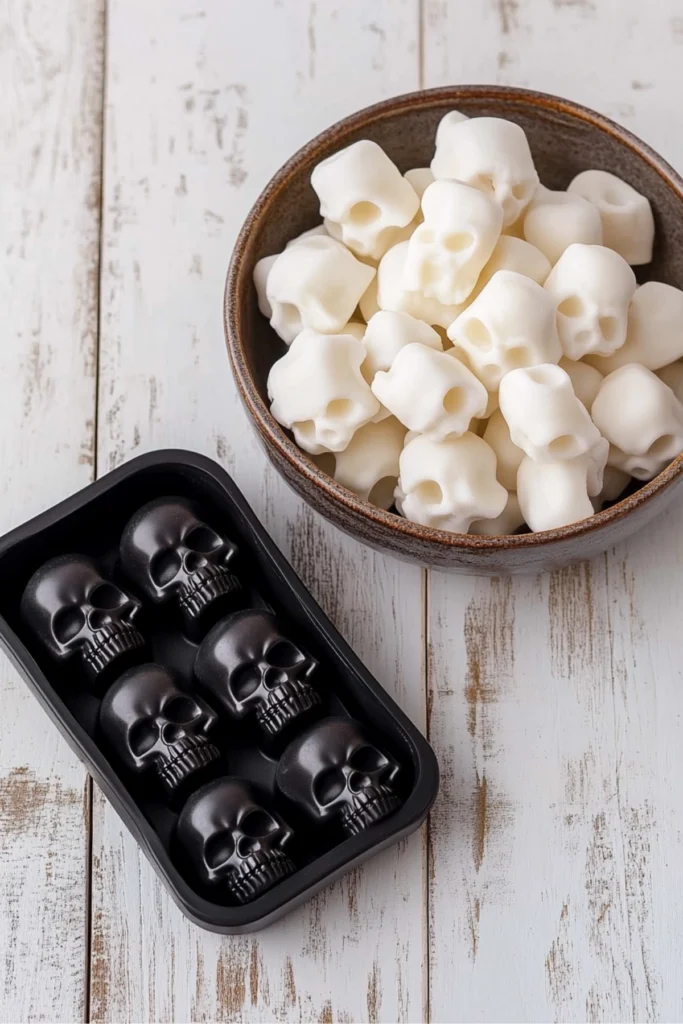
- Skull-shaped silicone molds (make sure they’re oven-safe)
- Baking sheet
- Spoon (for pressing the cheese into the mold)
- Paper towels for blotting the cheese
If you’re wondering where to get the molds, you can find cheese skull silicone molds or skull-shaped silicone ice cube trays online—Amazon has tons of options. Just double check they’re heat-safe before popping them in the oven.
How to Make Mozzarella Cheese Skulls (Step-by-Step Instructions)
This is where the cheese gets spooky. Let me walk you through it.
Step 1: Preheat and Prep
Start by preheating your oven to 350°F (175°C).
Next, grab your ciliegine mozzarella and blot each ball with a paper towel. This step is super important. Excess moisture will ruin the definition in your cheese skulls and make them soggy instead of spooky.
Moisture is the villain here, not ghosts. Remember that.
Step 2: Fill the Skull Molds
Place one mozzarella ball in each cavity of your skull-shaped silicone mold. Don’t press yet—just get them nestled in.
If you have larger molds, you can cut the mozzarella in half or layer two smaller pieces.
Step 3: Bake the Mozzarella
Set the silicone mold on a baking sheet for stability and bake for 8–10 minutes. The mozzarella will start to melt and soften, which is exactly what you want.
No need to stir, flip, or mess with it—just let the oven do its thing.
Step 4: Press and Chill
After baking, take a small spoon and gently press the melty mozzarella into every little crevice of the mold. This is how you get that epic skull shape to come through.
Once you’ve pressed them down, place the mold in the fridge for at least 10 minutes. This helps them firm up and hold their shape.
Step 5: Unmold Your Mozzarella Cheese Skulls
After chilling, carefully pop the cheese out of the molds.
And voilà—you’ve got creepy, gooey, cheesy skulls. These mozzarella cheese skulls will hold their shape, taste amazing, and look like you spent way more time making them than you actually did.
Serve alongside this savory homemade Italian bread recipe for a spooky snack spread.
Bonus: They can be made 2–3 days ahead, stored in the fridge in an airtight container.
Expert Tips for Skull-Shaped Cheese That Wows
Want to level up your mozzarella skull game? Here’s what I’ve learned (sometimes the hard way):
- Blot your cheese thoroughly. Moist mozzarella equals mushy skulls.
- Use smaller molds for bite-sized results.
- Silicone is key. It makes unmolding easy.
- Add flavor inside the mold. A sprinkle of garlic powder or chili flakes adds punch.
- Press while warm. The cheese molds better when soft.
Want to get even fancier? Try smoked mozzarella for an eerie, rich flavor.
Serving Ideas: Where to Use Mozzarella Cheese Skulls
These mozzarella Halloween treats are incredibly versatile. Here’s how to make them the stars of your spooky spread:
Halloween Pasta Salads
Toss skulls into a Halloween pasta salad with black noodles, olives, and roasted veggies.
Looking for a colorful side? Pair it with this vibrant rainbow orzo salad.
Want something heartier? Add a side of this balsamic steak gorgonzola salad with grilled corn.
Halloween Cheese Platters
Use your cheese skulls as the highlight of a spooky Halloween cheese platter.
Complete the platter with this charcuterie-style prosciutto wrapped mozzarella for a savory, protein-packed touch.
Green Salads & Party Starters
Add mozzarella skulls to a spinach and radicchio salad with a lemon vinaigrette.
Pair with this refreshing watermelon salad with cucumber and feta for a sweet-and-savory combo.
Sweet & Spooky Dessert Pairing
Balance out the savory side with a spooky-sweet finish.
Serve with these decadent mini crème brûlée cheesecakes to complete your Halloween feast.
Flavor Variations to Try with Mozzarella Cheese Skulls
These skulls are more than just cute—they’re a blank canvas for flavor. Try these spooky twists:
- Spicy skulls: Add red pepper flakes before baking
- Herby skulls: Press a basil or parsley leaf into the mold
- Bloody skulls: Plate over marinara sauce
- Smoky skulls: Use smoked mozzarella
Each version is perfect for Halloween dinner party food or charcuterie boards with a twist.
Who Should Try This Recipe?
Short answer? Everyone.
- Busy parents: Easy for kids to help with
- Students: Only need a toaster oven
- Home cooks: Make-ahead magic for your party
- Newlyweds & seniors: Cute and cozy for a Halloween date night
- Cheese lovers: No explanation needed
These mozzarella cheese skulls check all the boxes: fast, fun, delicious, and spooky.
Print
Mozzarella Cheese Skulls
- Total Time: 20 minutes
- Yield: 12 cheese skulls 1x
- Diet: Vegetarian
Description
These spooky, melty mozzarella cheese skulls are the ultimate Halloween snack—easy to make, creepy-cute, and irresistibly cheesy.
Ingredients
- 1 package of ciliegine mozzarella (mini mozzarella balls)
- A pinch of salt (optional)
Instructions
- Preheat oven to 350°F (175°C).
- Blot each mozzarella ball dry with a paper towel to remove moisture.
- Place one mozzarella ball into each cavity of a skull-shaped silicone mold.
- Set the mold on a baking sheet and bake for 8–10 minutes until soft and melty.
- Remove from oven and gently press cheese into mold crevices using a spoon.
- Refrigerate mold for at least 10 minutes to allow skulls to firm up.
- Carefully unmold and serve your spooky mozzarella cheese skulls.
Notes
Blotting the mozzarella is key for defined skull shapes. Use oven-safe silicone molds only. Add herbs or chili flakes for extra flavor. Can be made 2–3 days in advance.
- Prep Time: 10 minutes
- Cook Time: 10 minutes
- Category: Snack
- Method: Baked
- Cuisine: American
Nutrition
- Serving Size: 1 cheese skull
- Calories: 70
- Sugar: 0g
- Sodium: 100mg
- Fat: 5g
- Saturated Fat: 3g
- Unsaturated Fat: 2g
- Trans Fat: 0g
- Carbohydrates: 0g
- Fiber: 0g
- Protein: 5g
- Cholesterol: 15mg
Make Halloween Delicious with Mozzarella Cheese Skulls
All you need is cheese, a mold, and a few minutes. That’s it.
These spooky mozzarella snacks will make any Halloween table pop—whether you’re hosting a bash or just watching scary movies in your PJs.
Make a batch (or three), serve them hot or chilled, and don’t forget to take a picture before they disappear.
Because when someone asks, “Did you really make these?” — you can say, “Of corpse I did.”
Follow us for more drool-worthy comfort food on Pinterest and join the conversation on Facebook.