
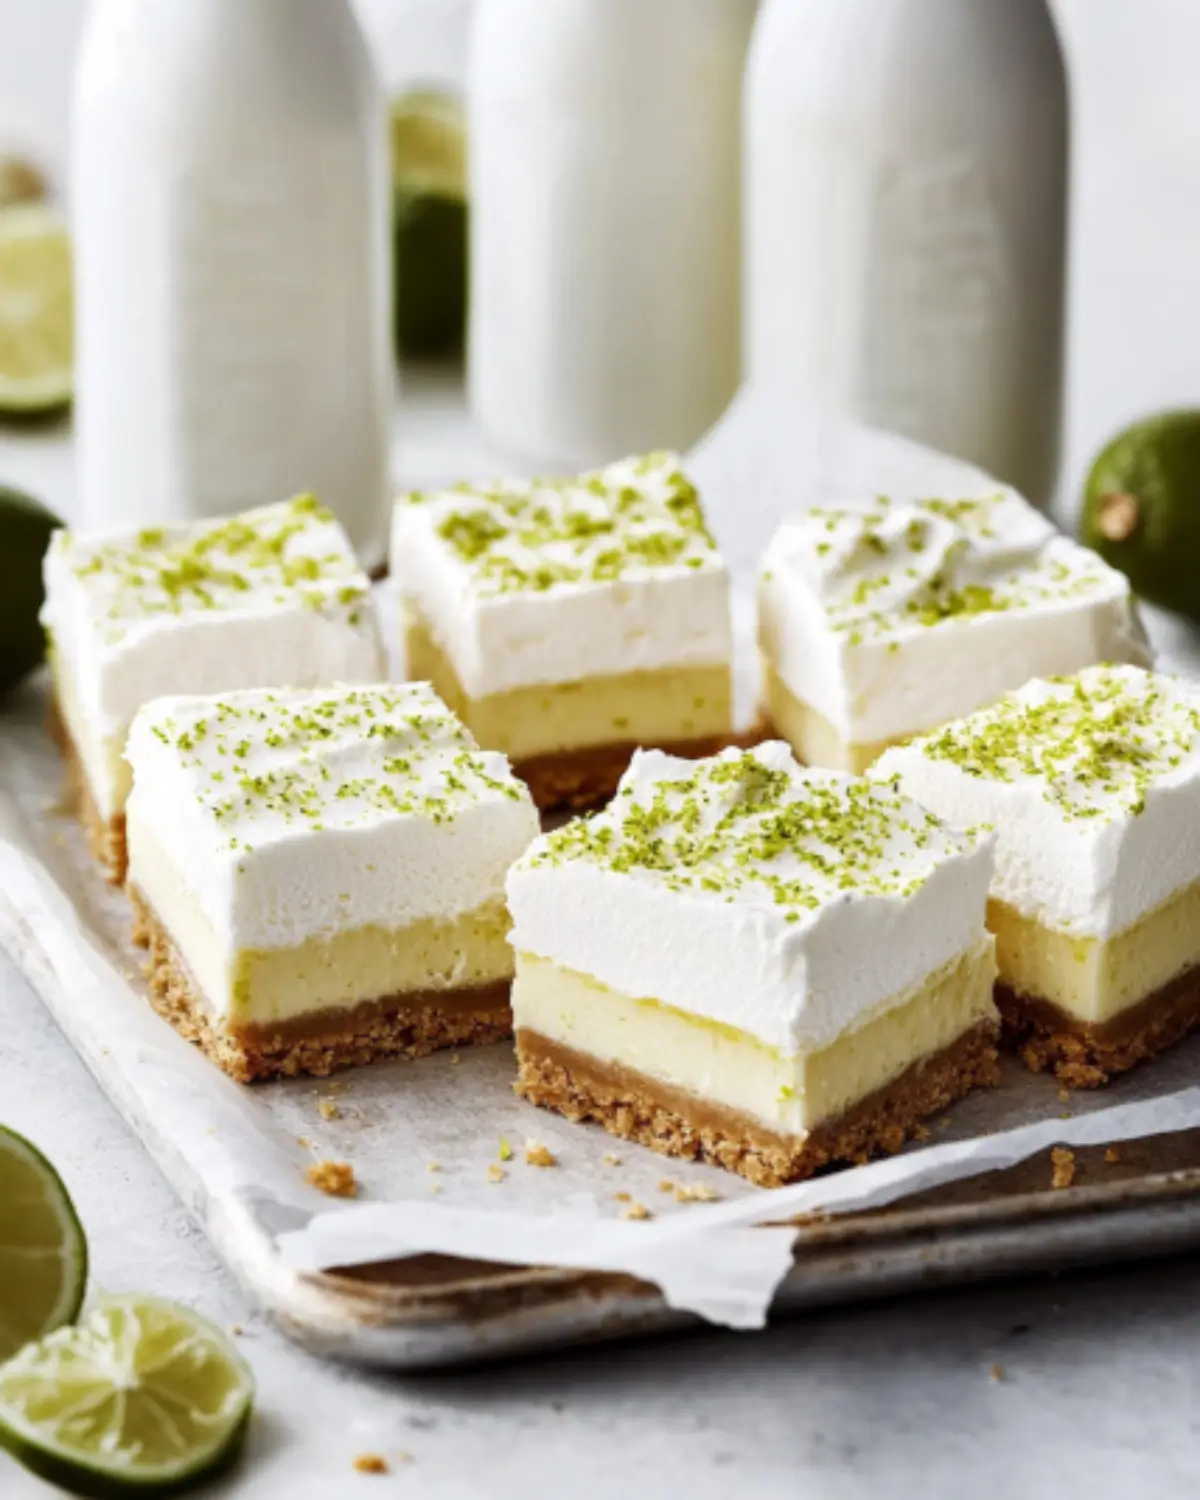
Alright friends, let’s talk about Key Lime Pie Bars—the tangy, creamy, totally irresistible dessert you didn’t know you needed this summer. Imagine all the punchy citrus flavor of a key lime pie, but in easy-to-slice, party-perfect squares that don’t require a fork (or a plate if you’re feeling wild). These bars are chilled, refreshing, and just the thing for BBQs, pool parties, or “I-just-want-something-sweet-but-don’t-want-to-bake-a-whole-pie” kind of days.
And don’t worry—if you’ve never zested a lime in your life, I’ve got you. This is one of those no-fuss desserts that looks fancy but comes together with simple ingredients and easy steps. Trust me, even if you’re running low on time or patience (hi, fellow parents and busy bees), these bars will be your new go-to.
Table of contents
Why You’ll Love These Key Lime Pie Bars
Let me break it down real quick:
- Cold, creamy texture that’s perfect for hot days
- Three dreamy layers: buttery cookie crust, creamy lime filling, and a fluffy whipped cream topping
- Make-ahead friendly – pop ‘em in the fridge or freezer, and they’ll be ready when you are
- No fork needed – slice and serve right outta the pan
- Easier than traditional pie, but with all the zesty goodness
- Crowd-pleaser – even citrus skeptics will sneak a second square
Need a non-citrus option on the dessert table? Check out our Strawberry Icebox Cake – another chilled dessert winner.
Ingredients You’ll Need
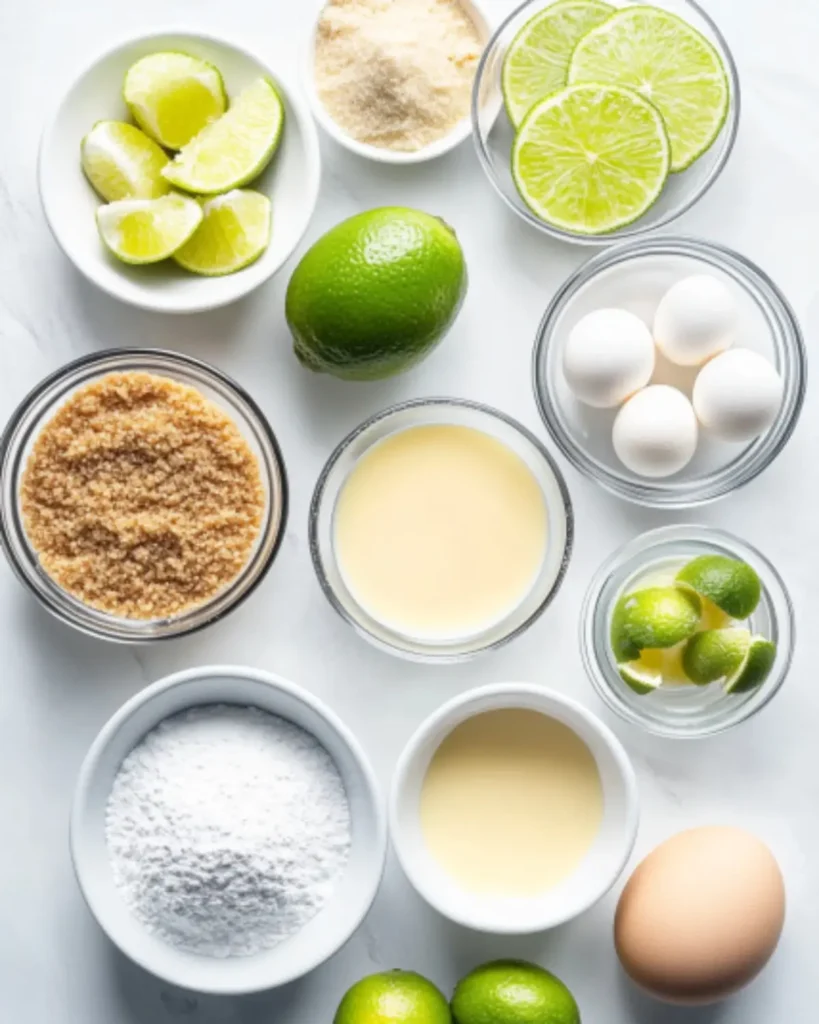
Cookie Crust:
- 1 ½ cups vanilla wafer crumbs (or use graham cracker crust for a classic twist)
- ¼ cup brown sugar
- 6 tablespoons melted butter
Lime Filling:
- 4 large egg yolks
- 1 tablespoon fresh lime zest
- ½ cup key lime juice (regular limes work too)
- 1 can (14 oz) sweetened condensed milk
Whipped Cream Topping:
- 1 cup heavy whipping cream
- 3 tablespoons powdered sugar
Pro Tip: Always go with fresh lime juice if you can. Bottled stuff works in a pinch, but fresh gives you that real citrus punch.
Step-by-Step: How to Make Key Lime Pie Bars
This is a one-pan dessert miracle. We’re layering, baking, chilling, and enjoying. Here’s how to do it:

Step 1: Make the Crust
Grab your food processor (or a zip-top bag and rolling pin if you’re old-school). Crush the vanilla wafers into crumbs that look like sandy beach vibes. Add the brown sugar and melted butter, then mix until the texture feels like damp sand.
Line your 8×8 inch baking pan with parchment paper (with some overhang for easy lifting later), and press the crust mixture evenly into the bottom. Use a measuring cup to press it down flat and tight.
Step 2: Bake the Crust
Slide the crust into a preheated 350°F oven and bake for 13–15 minutes. It should look slightly golden and smell like cookie heaven.
Let it cool on the counter for 30 minutes. This gives the crust time to set before you add the filling.
Step 3: Mix the Filling
In a mixing bowl, combine the egg yolks and lime zest. Beat them with a hand mixer for 4–5 minutes. It’ll get thick and pale—this helps the texture stay creamy and rich.
Add the sweetened condensed milk and lime juice, and whisk until smooth and silky.
Step 4: Bake the Filling
Pour the filling right onto that cooled crust. Spread it out evenly with an offset spatula, and pop it back in the oven for 15–17 minutes. The edges should be set, but the center might still jiggle a little. That’s the sweet spot.
Cool it on the counter again, then stick it in the fridge for at least 3 hours, but overnight is even better.
Step 5: Make the Whipped Cream Topping
Just before serving, grab a clean bowl and beat the heavy cream and powdered sugar together until soft peaks form. You’re looking for that luscious, cloud-like texture.
Spread it evenly over the chilled bars. You can swirl it with a spoon or keep it neat with your offset spatula.
Step 6: Slice and Serve
Here’s where the magic happens. Use a hot knife (just run it under hot water and wipe clean between cuts) to get super clean dessert bar squares.
Serve these babies cold, maybe with a little lime zest on top or a lime wedge if you’re feeling fancy. Forks optional.
Tips for Success
- Use fresh lime juice – seriously, it makes a difference.
- Chill before slicing – bars need that fridge time to set up.
- Hot knife trick – cuts like a dream.
- Don’t rush the crust – it needs to cool so the filling doesn’t go soggy.
- Use parchment – you’ll thank yourself later when lifting them out.
For another single-serve creamy treat, check out our Mini Crème Brûlée Cheesecakes.
Serving Suggestions
- Serve these bars straight from the fridge at summer parties, baby showers, or beachy backyard hangouts.
- Want to get fancy? Top with extra whipped cream, a curl of lime zest, or a sprinkle of crushed cookies.
- Going to a potluck? These make perfect individual dessert squares – no utensils needed.
- Planning ahead? Freeze them! Just thaw for a few minutes before slicing and serving.
Throwing a summer bash? Add our Star-Spangled Brownies for a festive red-white-and-blue table.
FAQ – Let’s Answer Your Burning Questions
Totally. Key limes have a more intense flavor, but regular limes work just fine—and they’re way easier to find.
You can try using dairy-free sweetened condensed milk and coconut cream for the topping. Texture may vary, but it’ll still be tasty.
Yes—but if you’re craving a no-bake citrus dessert, try our No-Bake Lemon Blueberry Dessert.
Yup—graham crackers are a classic option. Just swap them in 1:1.
Keep them covered in the fridge for up to 4 days, or freeze for up to a month.
Printable Recipe Card
Print
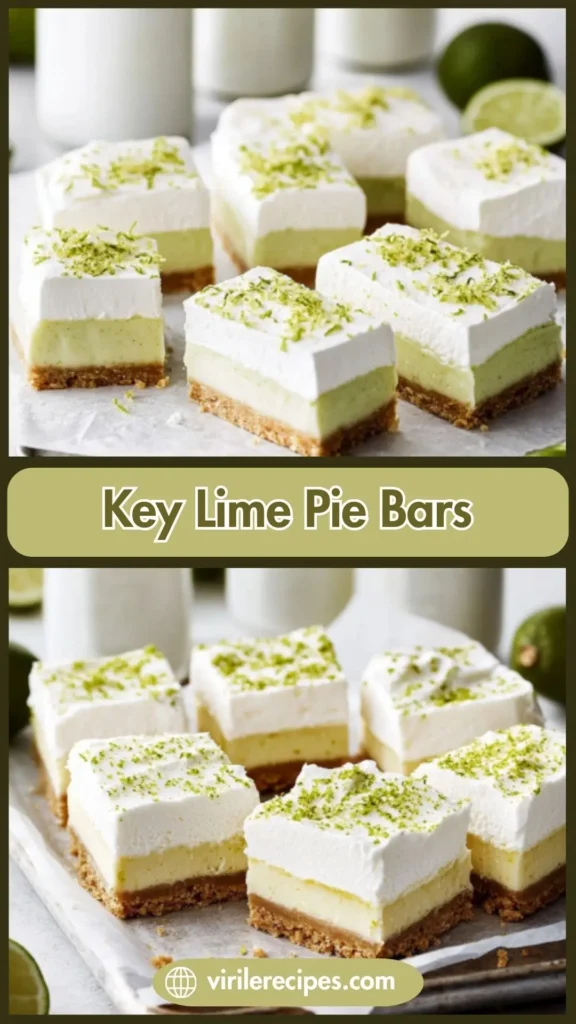
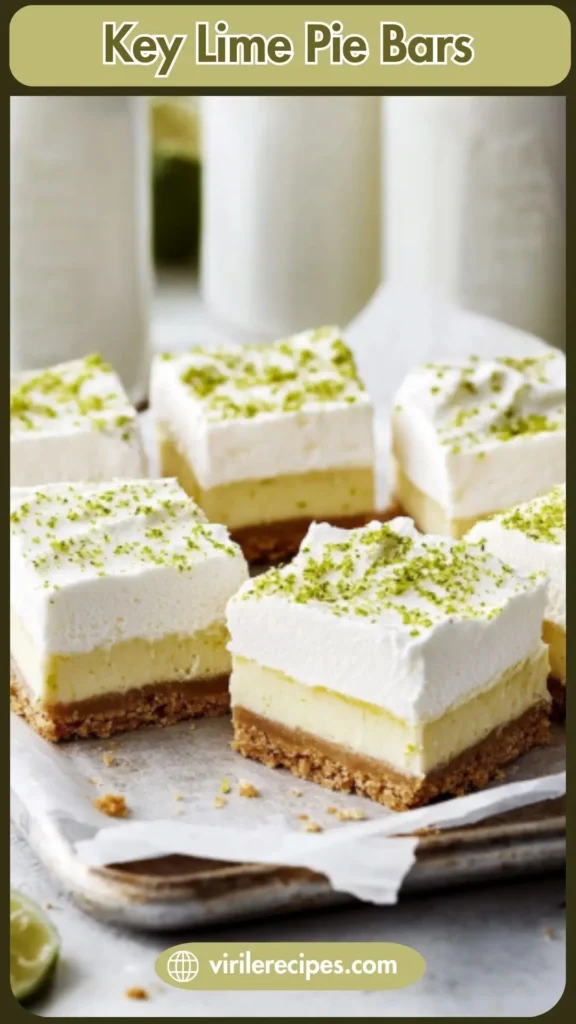
Key Lime Pie Bars
- Total Time: 3 hours 45 minutes
- Yield: 16 bars 1x
Description
Cold, creamy, tart, and easy to slice — these Key Lime Pie Bars are the ultimate summer dessert, layered with vanilla wafer crust, zesty lime filling, and fluffy whipped topping.
Ingredients
- 1 1/2 cups crushed vanilla wafers
- 1/4 cup brown sugar
- 6 tablespoons melted butter
- 4 large egg yolks
- 1 tablespoon fresh lime zest
- 1/2 cup key lime juice
- 1 (14 oz) can sweetened condensed milk
- 1 cup heavy whipping cream
- 3 tablespoons powdered sugar
Instructions
- Preheat oven to 350°F. Line an 8×8 pan with parchment.
- Mix crushed vanilla wafers, brown sugar, and melted butter until combined.
- Press into prepared pan and bake for 13–15 minutes. Let cool 30 minutes.
- Beat egg yolks and lime zest for 4–5 minutes. Add condensed milk and lime juice. Mix until smooth.
- Pour filling over crust. Bake 15–17 minutes, until edges are set and center is slightly jiggly.
- Cool at room temperature 30 minutes, then refrigerate at least 3 hours.
- Beat heavy cream and powdered sugar until stiff peaks form. Spread over chilled bars.
- Chill another 30 minutes. Slice with hot knife for clean cuts. Serve cold or slightly frozen.
Notes
Use fresh lime juice and zest for best flavor. Store in the fridge for up to 4 days or freeze up to 1 month. For easier slicing, use a hot knife and clean between cuts.
- Prep Time: 15 minutes
- Cook Time: 30 minutes
- Category: Dessert
- Method: Baked
- Cuisine: American
Nutrition
- Serving Size: 1 bar
- Calories: 230
- Sugar: 18g
- Sodium: 85mg
- Fat: 14g
- Saturated Fat: 9g
- Unsaturated Fat: 4g
- Trans Fat: 0g
- Carbohydrates: 24g
- Fiber: 0g
- Protein: 3g
- Cholesterol: 75mg
Need a holiday-inspired dessert idea? Check out these Valentine’s Day Cookies or festive Christmas Cookie Bars.
Final Thoughts: It’s Lime O’Clock, Baby
So there you have it—Key Lime Pie Bars that are simple, bright, and way easier than making a full pie. Whether you’re hosting, gifting, or hoarding the tray for yourself (no judgment), these citrusy squares deliver.
And the best part? You didn’t need a rolling pin, pie weights, or any fancy gear. Just some pantry basics, a splash of lime, and a whole lotta summer flavor.
Looking for another fruity, fun dessert to make with the kids? Try our Fruty Brownie Dessert Pizza next—it’s a blast.
Now go zest those limes. Your dessert table deserves this.
For more creative baking inspiration and marketing ideas, explore the Pinterest or connect with us on Facebook.