
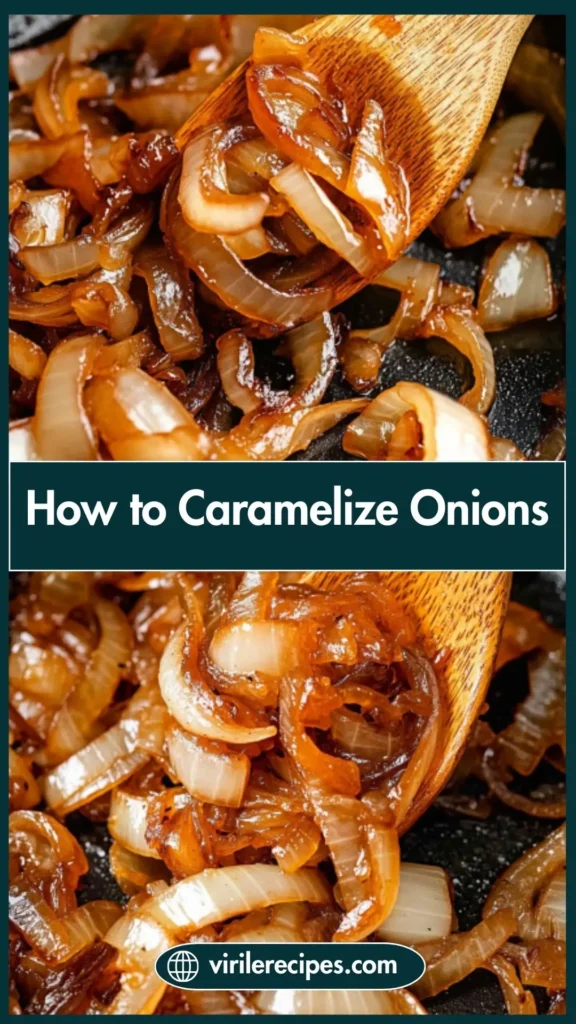
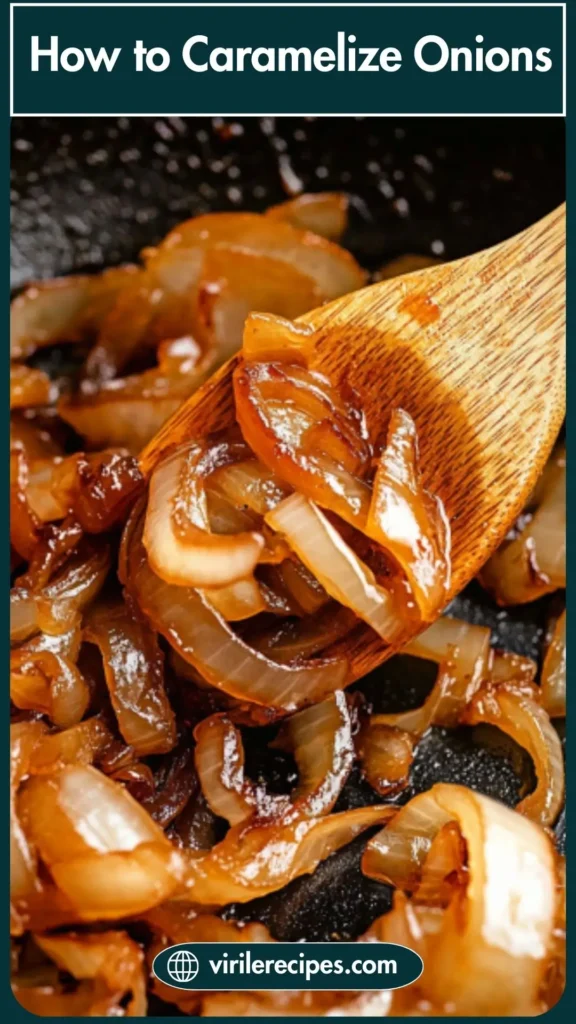
There’s something almost magical about the way a pile of raw onions can turn into sweet, golden ribbons of flavor with just a little patience and a good skillet. If you’ve ever had French onion soup, a killer grilled cheese with onions, or a burger stacked high with jammy goodness, then you already know the power of caramelized onions.
But here’s the thing: caramelizing onions is a slow dance, not a quick sprint. It’s not hard, but it does require time and a little love. And today, I’m walking you through how to caramelize onions—the right way. No shortcuts, no soggy results, just sweet onion perfection.
Table of contents
Why Bother Caramelizing Onions?
You might be asking, “Can’t I just sauté them and move on with my life?” Technically, sure. But when you go low and slow, something magical happens. The natural sugars in the onions break down, creating a rich, sweet, almost umami-like flavor that just can’t be beat.
It’s like turning a regular Tuesday night dinner into something you’d pay extra for at a cozy restaurant.
Plus, they go with everything—soups, pastas, burgers, dips, you name it. The sweet onion flavor brings instant depth and comfort to any dish.
Best Onions for Caramelizing
Not all onions are created equal, and some caramelize better than others. Let’s break it down:
1. Yellow Onions
These are your all-purpose, go-to onions. They’ve got a great balance of sweet and sharp, and they hold up beautifully in long cooks.
2. Sweet Onions (like Vidalia or Walla Walla)
If you’re going for MAX sweetness, these are the winners. They have a higher sugar content, which means a richer flavor when caramelized.
3. Red Onions
Red onions caramelize into a deeper, mellow flavor and add a pretty purplish-brown hue. A little bolder, a little funkier—but still very tasty.
Pro Tip:
Look for onions that are firm, with smooth skin and no bruises or soft spots. Fresh is best, always.
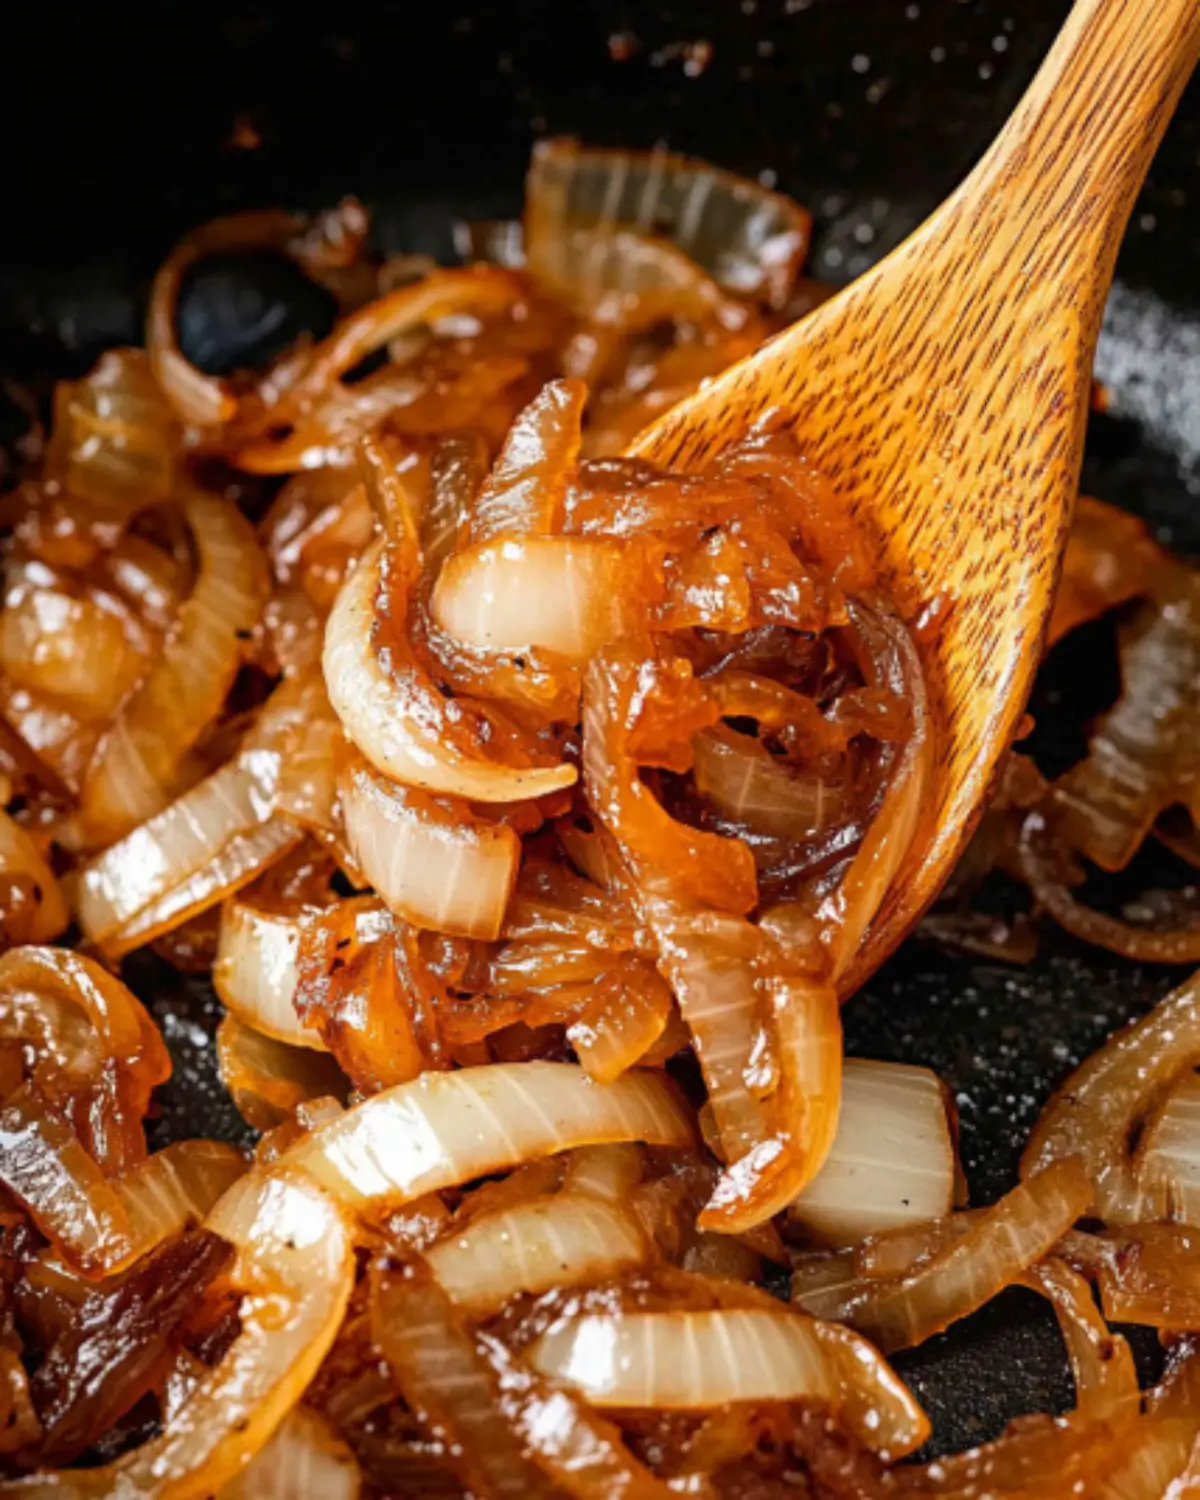
How to Caramelize Onions (Step-by-Step)
Here it is—the heart of the process. We’re talking step-by-step caramelized onions, the right way, with no burning, no mushy mess.
Ingredients:
- 2–3 large yellow or sweet onions
- 2 tablespoons butter or oil (or a mix!)
- A pinch of salt
- Optional: water, broth, or wine for deglazing
Step 1: Slice the Onions Thinly
Grab a sharp knife or mandoline and cut your onions into 1/8″ to 1/4″ thick slices. Thin, even slices cook more evenly and give you that silky texture in the end.
Step 2: Heat the Fat
Place your cast iron pan or heavy-bottomed skillet on low-medium heat. Add butter, oil, or both, and let it warm until it shimmers (not smokes!).
Step 3: Add Onions & Salt
Toss in the onions and sprinkle with a pinch of salt. The salt will start drawing out moisture, which helps them soften and start the browning process.
Step 4: Cook Low and Slow
This is where most people mess up. Caramelize onions slowly. Stir gently every 5 minutes or so. Let them sit in between so they get that golden crusty edge. You’re not stir-frying—you’re coaxing out flavor.
- Time estimate: 30–60 minutes, depending on quantity and your stove.
Watch for:
- Translucent to light golden
- Then deep golden brown
- Finally, sweet aroma filling the kitchen
If the onions start sticking or browning too fast? Add a splash of water, broth, or wine to deglaze the pan and scrape up those tasty brown bits.
Pro Tip: “Serve your caramelized onions over these ultra crispy breakfast potatoes.”
How to Caramelize Onions
- Total Time: 50 minutes
- Yield: About 1 cup 1x
Description
Learn the slow, delicious art of caramelizing onions. With just a few ingredients and a little patience, you can turn humble onions into golden, jammy ribbons of flavor that transform any dish.
Ingredients
- 2–3 large yellow or sweet onions
- 2 tablespoons butter or oil (or a mix)
- A pinch of salt
- Optional: water, broth, or wine for deglazing
Instructions
- Slice the onions thinly into 1/8″ to 1/4″ thick slices for even cooking.
- Heat butter or oil in a heavy-bottomed skillet over low-medium heat.
- Add onions and sprinkle with a pinch of salt to draw out moisture.
- Cook slowly, stirring every 5 minutes, letting them develop a golden crust before each stir.
- If onions start to stick or brown too fast, deglaze with a splash of water, broth, or wine.
- Continue cooking until they turn deep golden brown and smell sweet—about 30 to 60 minutes.
Notes
Don’t rush the process. Caramelized onions take time but reward you with deep, sweet flavor that enhances any meal—from burgers to pasta to soups.
- Prep Time: 5 minutes
- Cook Time: 45 minutes
- Category: Basics
- Method: Stovetop
- Cuisine: Universal
Nutrition
- Serving Size: 2 tablespoons
- Calories: 45
- Sugar: 2g
- Sodium: 60mg
- Fat: 3g
- Saturated Fat: 1.5g
- Unsaturated Fat: 1.5g
- Trans Fat: 0g
- Carbohydrates: 4g
- Fiber: 1g
- Protein: 0g
- Cholesterol: 5mg
Expert Insight
Here’s a nugget of wisdom from food writers everywhere:
“If you can make great caramelized onions, you can make anything taste like home.”
This technique is the backbone of so many recipes, from rustic to refined. It’s a foundational flavor booster, and totally worth the wait.
Common Mistakes to Avoid
Let’s make sure you don’t end up with burnt onions or a soggy mess.
Overcrowding the Pan
Too many onions = steamed onions, not caramelized. Stick to a single layer for best results.
Too Much Heat
High heat = crispy black onions. You want low-medium heat. Trust the process.
Stirring Too Often
Give them a few minutes undisturbed to develop that gorgeous golden crust before stirring.
Wrong Pan
Thin pans = uneven heat. Go for a cast iron pan or stainless steel for even cooking.
Not Watching the Finish Line
In the last 10 minutes, watch closely. They can go from perfect to burnt real quick.
op this delicious breakfast pizza with a layer of caramelized onions for a flavor boost!
Storing and Reheating Caramelized Onions
Make a big batch—you’ll thank yourself later.
Storage Tips:
- Fridge: Up to 5 days in an airtight container.
- Freezer: Up to 3 months. Use ice cube trays for perfect portions.
Reheating:
- Microwave with a splash of water for moisture.
- Stovetop over low heat for best flavor.
Pair caramelized onions with this classic canned corned beef recipe for a hearty meal.
What to Do With Caramelized Onions?
Here’s where the fun really begins. These little flavor bombs go on everything.
Soups & Stews
- French onion soup (of course)
- Potato soup? Yes, please.
Add depth to this comforting potato soup by stirring in caramelized onions.
Pasta
- Toss with creamy sauces or roasted veggies
- Mix into mac & cheese for adult-level comfort food
Sandwiches & Burgers
- Burgers, grilled cheeses, paninis—next level.
Dips & Spreads
- Mix into sour cream for a quick onion dip
- Stir into mayo for a sandwich spread
Meats
- Steak, roast chicken, hot dogs—you name it.
Caramelized onions make a great topping for a classic Italian meatloaf.
Final Thoughts: Sweet Patience = Sweet Onions
Caramelizing onions isn’t flashy. It doesn’t require fancy gear. It’s just a skillet, some onions, and a little time.
But the payoff? Huge.
Whether you’re cooking for your family, meal-prepping for the week, or throwing together a midnight grilled cheese, having caramelized onions in your fridge is like unlocking secret flavor level 10.
So next time you’ve got an hour, toss some onions in the pan and let the magic happen. And hey—tag us when you make them. I wanna see that golden goodness.
For more creative baking inspiration and marketing ideas, explore the Pinterest or connect with us on Facebook.
This post may contain affiliate links. As an Amazon Associate, we earn from qualifying purchases—at no extra cost to you.