
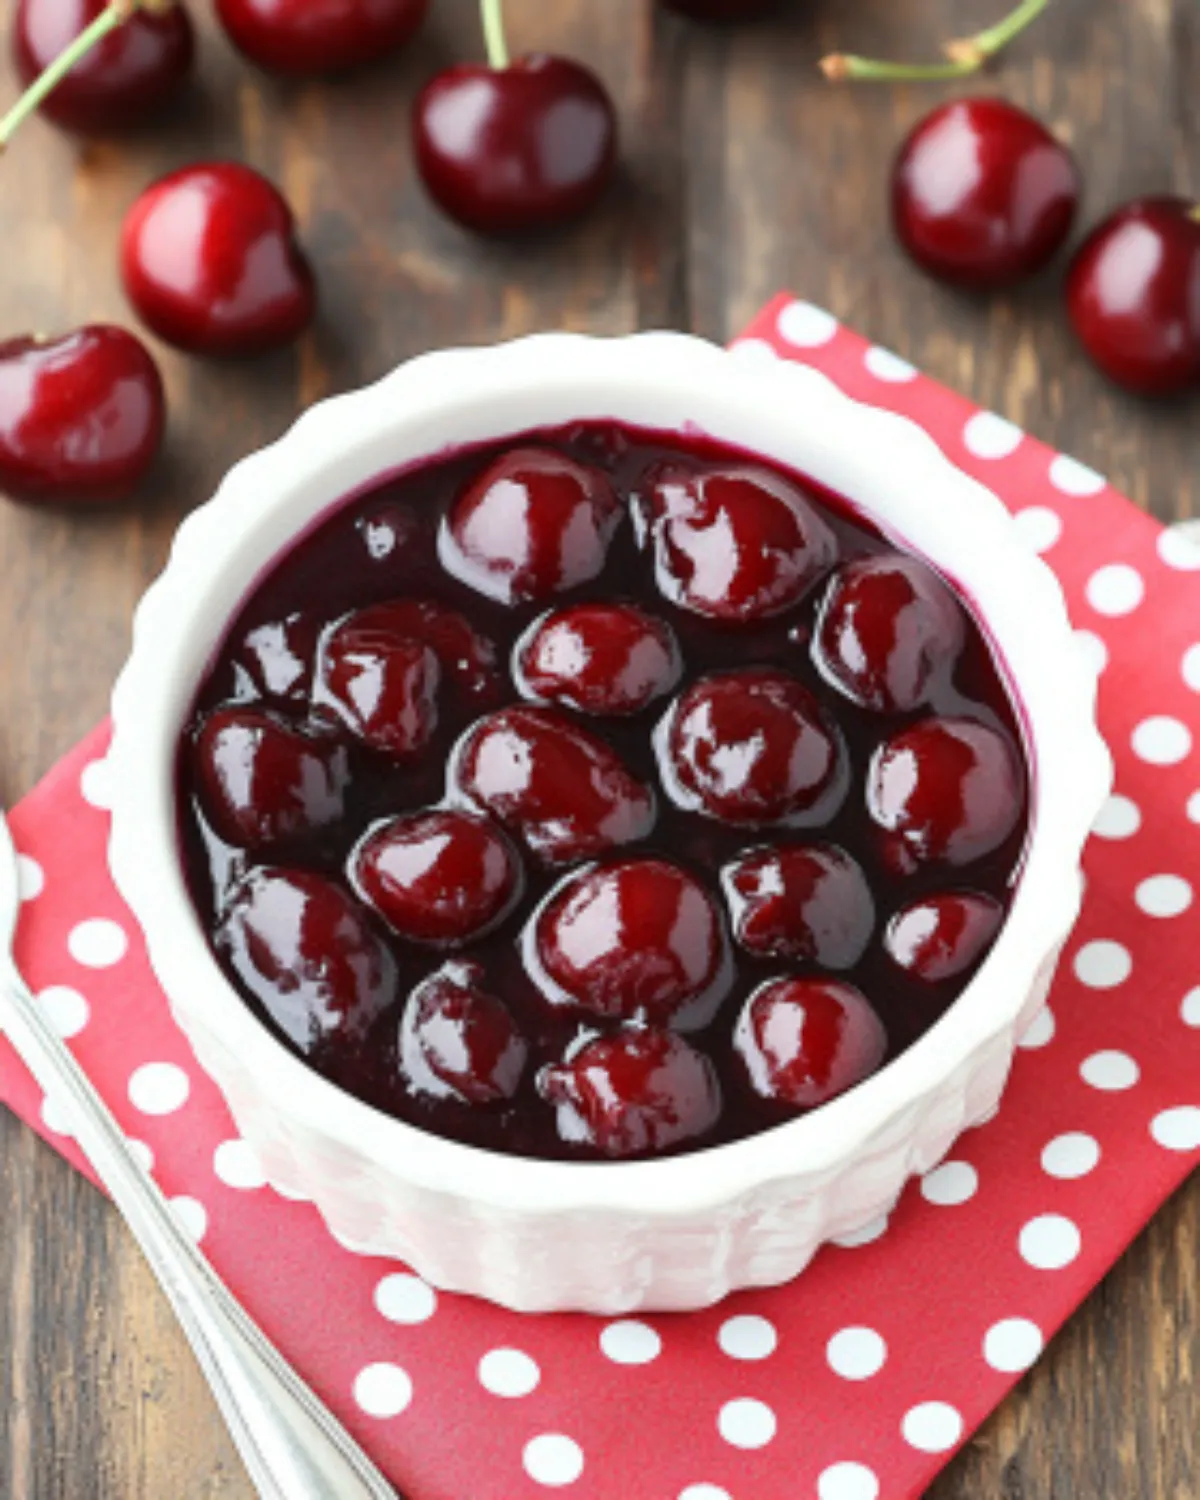
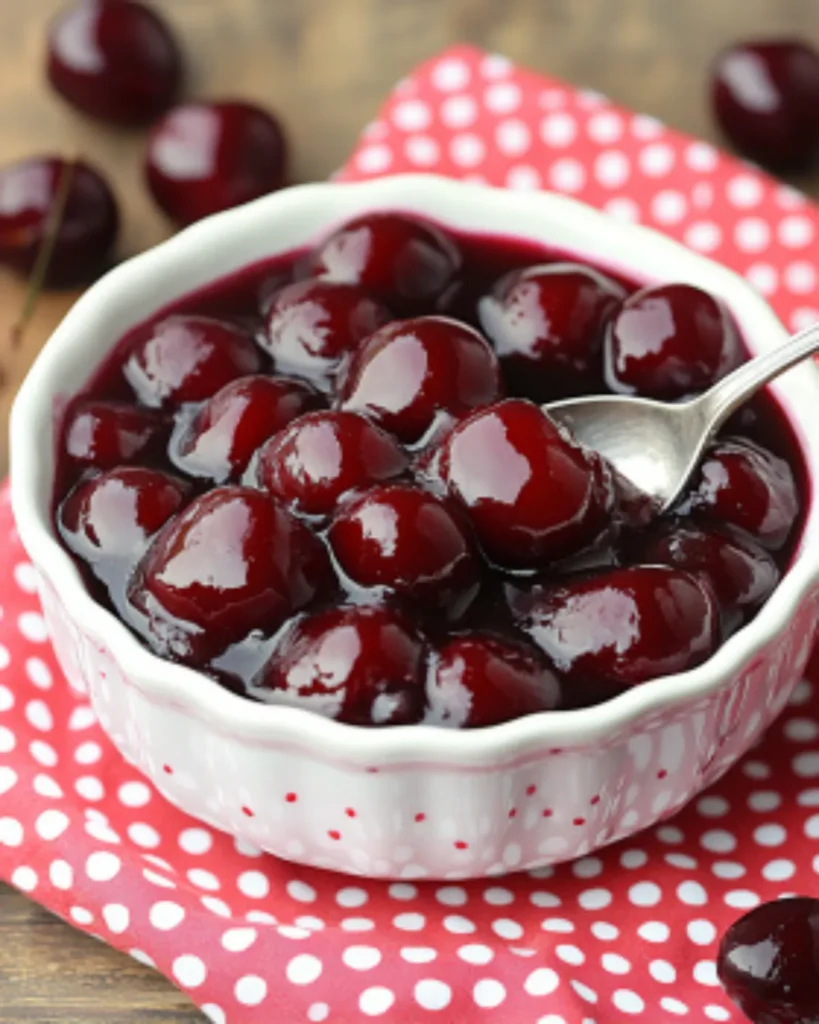
There’s something so heartwarming about a slice of cherry pie. That glossy, ruby-red filling, nestled in a golden crust? Pure joy. But here’s the twist—what if I told you that you could make cherry pie filling from scratch with just five simple ingredients and zero weird additives? Yeah, that canned stuff doesn’t stand a chance.
“I made this cherry pie filling once, and now my family won’t let me use the store-bought version ever again. It’s that good!” — Sarah G., home baker in Texas
Whether you’re baking a full pie, layering it in cheesecake bars, or just spooning it over vanilla ice cream (no judgment), this filling is the kind of recipe that becomes a staple. And don’t worry—we’re covering all the bases: how to use it, tweak it, store it, and even troubleshoot it. Let’s get into it!
Jump to
Why Make this recipe ?
Let’s be real—homemade anything just tastes better. But here’s why this cherry pie filling really earns its spot in your recipe box:
- Flavor Bomb: Think sweet, jammy cherries with a splash of lemon and a whisper of cinnamon. It’s like summer in a spoon.
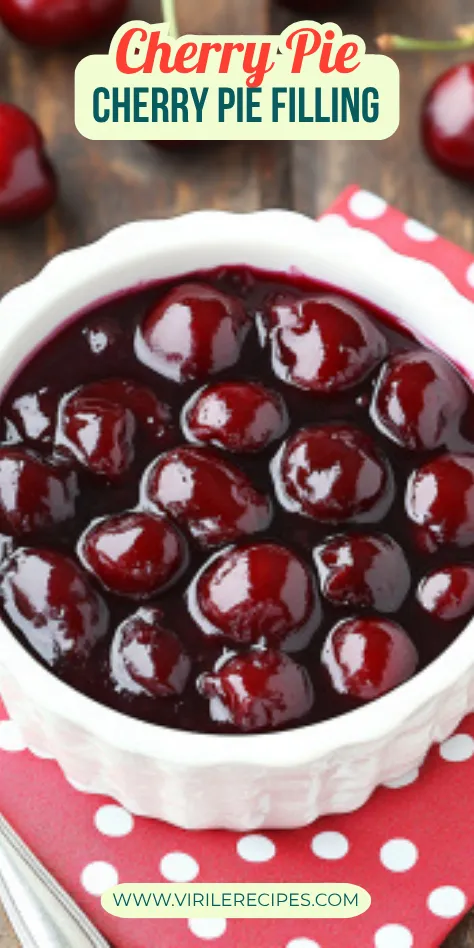
- Perfect Texture: Thick, gooey, and glossy. Not runny, not gluey. Just right.
- No Mystery Ingredients: You’re in control. No artificial cherry flavor, no preservatives.
- Quick & Easy: Done in under 15 minutes. Yes, really.
- Freezer-Friendly: Make a big batch, stash some for later.
- Endlessly Versatile: From cherry cobbler to cheesecake toppings, this filling works hard.
Ingredients and Substitutions
Here’s the beautiful part—this recipe keeps it simple. Just the essentials:
- Cherries (4 cups / 616g): Fresh or frozen, sweet or tart. Frozen pitted cherries are your weeknight best friend. If using fresh, pit them first (more on that below).
- Granulated Sugar (1 cup): Adjust depending on how tart your cherries are.
- Lemon Juice (2 tbsp): Brightens everything up.
- Cornstarch (¼ cup): The secret to that perfect glossy thickness.
- Cinnamon (⅛ tsp, optional): Just a hint for warmth.
- Pinch of Salt: Balances the sweet.
Pro Tip: If your cherries aren’t very juicy, you might need to add 2–4 tablespoons of water.
How to Make Cherry Pie Filling
Alright, aprons on. This is where the magic happens:
- Pit the Cherries: If using fresh cherries, get yourself a pitter or try the paperclip trick—slide it into the stem hole and scoop out the pit.
- Combine Ingredients: Toss cherries, sugar, lemon juice, cornstarch, cinnamon, and salt into a medium saucepan.
- Simmer: Cook over medium heat, stirring constantly, until the mixture thickens and becomes glossy. This takes about 8–10 minutes.
- Cool It Down: Let the filling cool before using it in your recipes or storing it.
That’s it! Told you it was easy.
Tips and Tricks
- Pitting Made Easy: A cherry pitter saves time, but a bent paperclip or chopstick works in a pinch.
- Using Frozen Cherries: Thaw them first and include the juice. It adds flavor and volume.
- Too Runny? Simmer a little longer.
- Too Thick? Add a splash of water.
- Juicier Cherries? Adjust the cornstarch slightly or simmer longer.
- Variations
You’re the chef—have fun with it!
- Spices: Swap cinnamon for nutmeg, ginger, chai spice, or even pumpkin pie spice.
- Extracts: Add a splash of almond, vanilla, or cherry extract for a twist.
- Less Sweet? Use more tart cherries or cut the sugar slightly.
Storage
- Fridge: Keeps for 5 days in a sealed container.
- Freezer: Lasts up to 3 months in a freezer-safe container.
- Thawing: Let it sit overnight in the fridge. The texture might be thicker when cold but loosens up when warmed.
Frequently Asked Questions
Keep simmering! Cornstarch needs heat to activate.
Cornstarch wins for a glossy, clean finish.
Absolutely. Just thaw and use the juice, too.
Up to 5 days.
Yup! Just use an airtight, freezer-safe container.
Use tart cherries or reduce the sugar slightly.
Cornstarch gives you that thick, jammy texture.
Recommended Recipes
Here’s where that cherry pie filling becomes the hero:
- Use cherry pie filling in puff pastry desserts
- Top mini cheesecakes with cherry filling
- Add cherry pie filling to Valentine’s Day dessert ideas
- Bake heart-shaped cookies filled with cherry pie filling
- Combine red velvet and cherry flavors for festive treats
- Substitute cherries in dump cake recipes
- Alternate fruit fillings for classic pies
- Add cherry pie filling to cheesecake bar desserts
- Make cherry icebox cakes for summer treats
- Pair cherry pie filling with mint cheesecake flavors
- Explore tart pie variations using cherry filling
- Serve cherry pie filling alongside chocolate-dipped fruit
Printable Recipe
Print
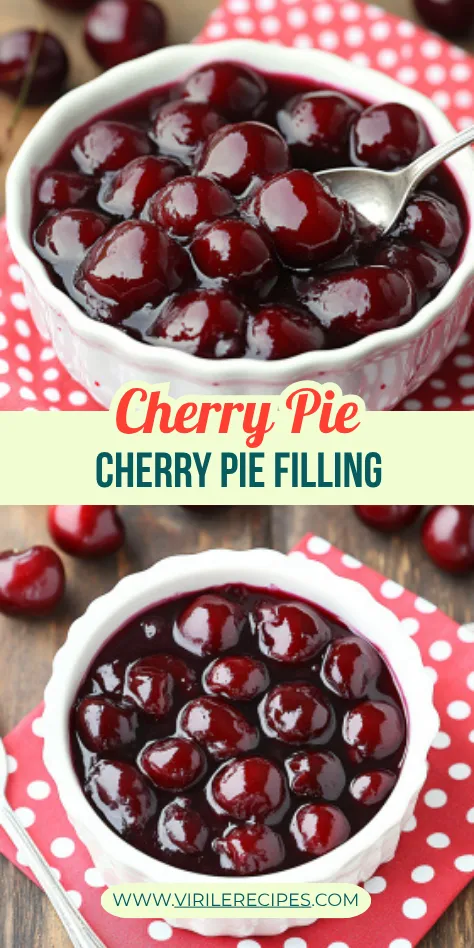
Cherry Pie Filling: The Homemade Classic You Didn’t Know You Needed
- Total Time: 15 minutes
- Yield: One batch
Description
A glossy, ruby-red cherry pie filling made from scratch—sweet, jammy, and perfect for pies, cheesecake, or ice cream.
Ingredients
- 4 cups (616g) sweet or tart cherries (fresh or frozen, pitted)
- 1 cup granulated sugar
- 2 tbsp lemon juice
- ¼ cup cornstarch
- Pinch of salt
- ⅛ tsp cinnamon (optional)
Instructions
- Combine all ingredients in a saucepan over medium heat.
- Stir constantly until the mixture thickens and becomes glossy, 8–10 minutes.
- Cool before using or storing.
Notes
Use more sugar for tart cherries, less for sweet. Add almond or vanilla extract for a twist. Store in the fridge for up to 5 days or freeze up to 3 months.
- Prep Time: 5 minutes
- Cook Time: 10 minutes
- Category: Dessert
- Method: Stovetop
- Cuisine: American
Nutrition
- Serving Size: Per batch
- Calories: 712
- Sugar: 130g
- Sodium: 10mg
- Fat: 1g
- Saturated Fat: 0g
- Unsaturated Fat: 0g
- Trans Fat: 0g
- Carbohydrates: 180g
- Fiber: 6g
- Protein: 2g
- Cholesterol: 0mg
So next time you’re thinking dessert, think cherries. Homemade cherry pie filling isn’t just a recipe—it’s a game-changer. Whether you’re serving it to guests, packing it in your lunchbox, or eating it straight from the jar (been there), this is one you’ll come back to again and again.
For more creative baking inspiration and marketing ideas, explore the Pinterest or connect with us on Facebook.
Happy cooking, and don’t forget to share your creations with us over at Virile Recipes!